Converting IBM Wheelwriter to USB Keyboard
Posted on .
The first part of this post contains background on how I got the keyboard and how I progressed with it. If you'd like to jump straight into the conversion instructions, click here.
Quick link to GitLab repo of this project: Nicd/qmk_firmware
Obtaining the Wheelwriter
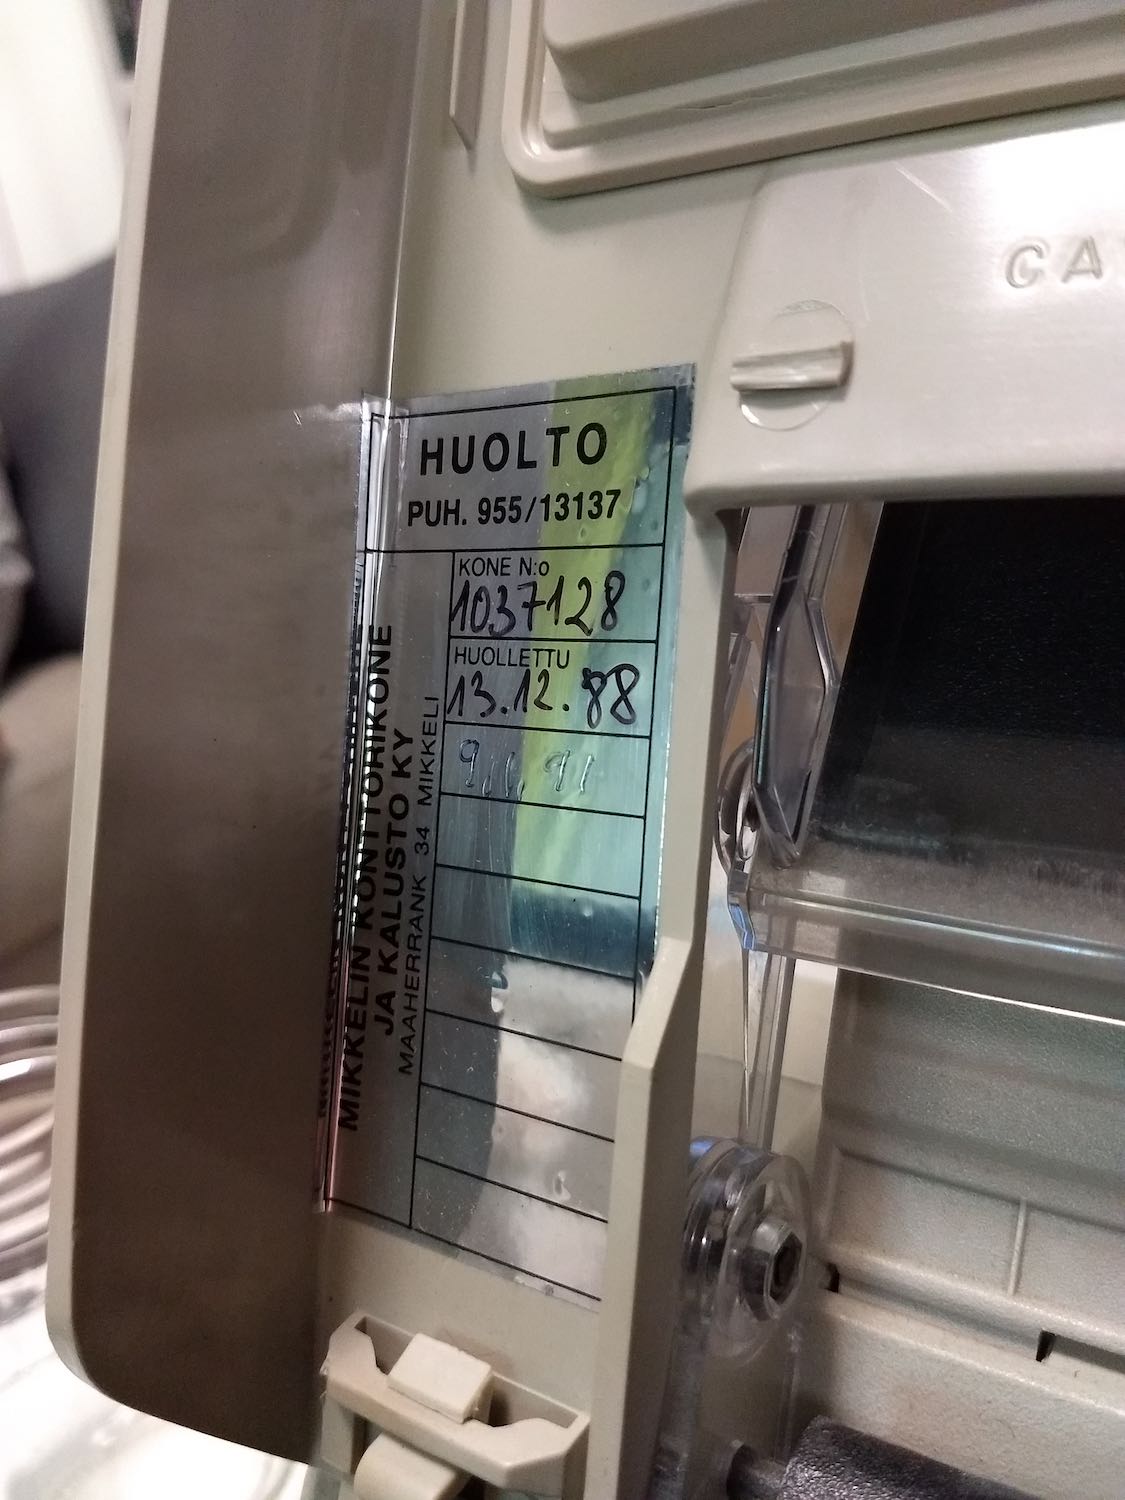
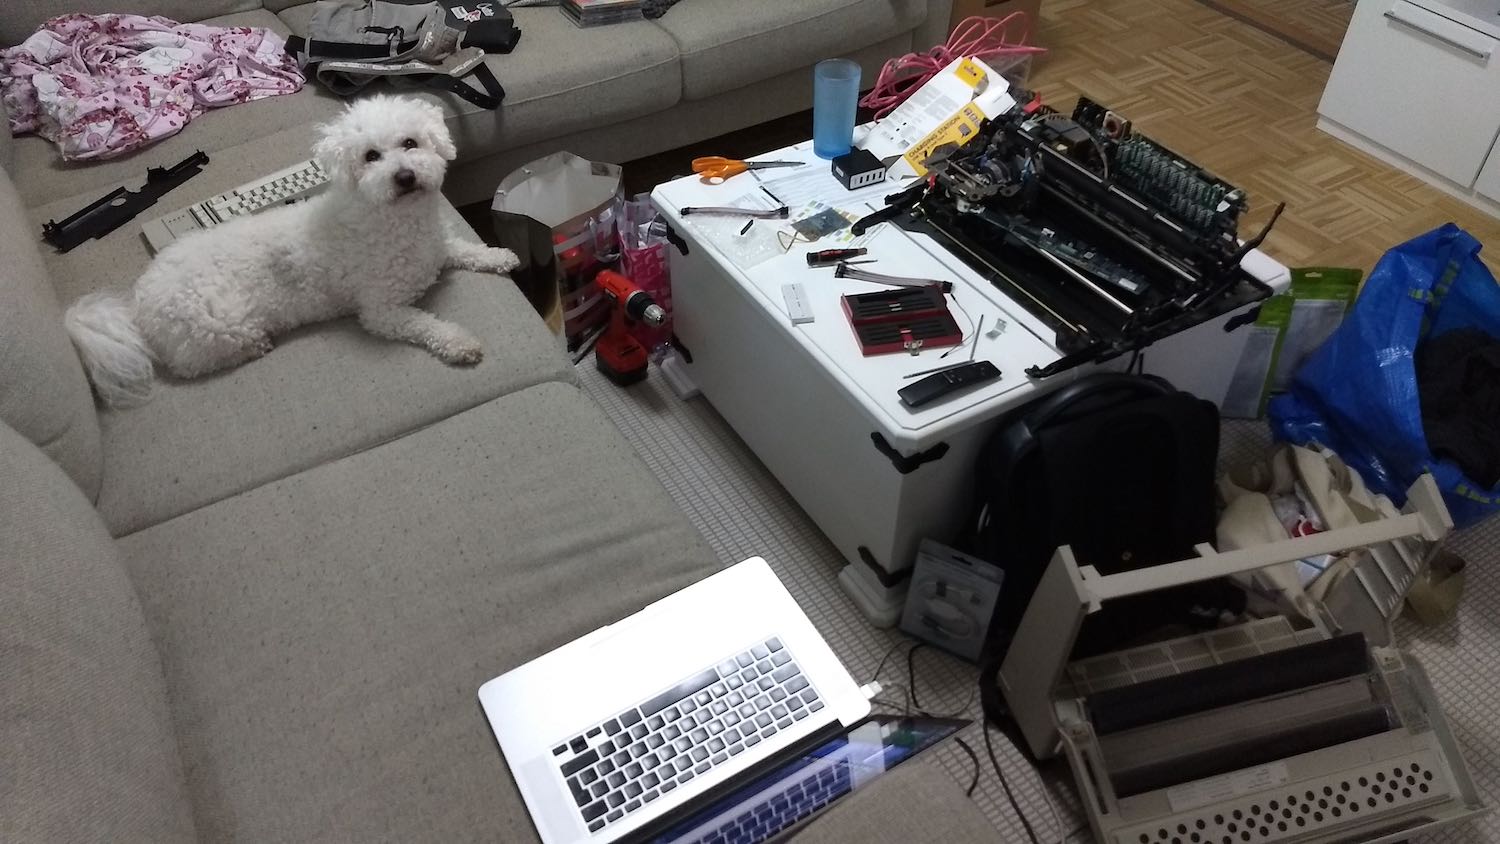
After getting my Cherry finished, my brother messaged me that his company was emptying their old office and were throwing away some sort of IBM typerwiter. He asked if I would be interested in taking it instead, to save it from going to the landfill. Of course I was, and so I was soon in possession of a working IBM Wheelwriter 6747-2. The Wheelwriter is an electric typerwiter introduced by IBM in 1984 to replace the earlier Selectric. It has a keyboard with similar construction to that of the famous IBM Model M, using the same buckling spring mechanism. The unit my brother saved for me is from 1986.
I myself had no use for a typewriter, but I was very interested in its keyboard, that seemed to be in perfect condition. All the keys responded properly, so it was just a matter of disconnecting the keyboard and converting it into USB usage. This is how my conversion story started.

Hardware Connection
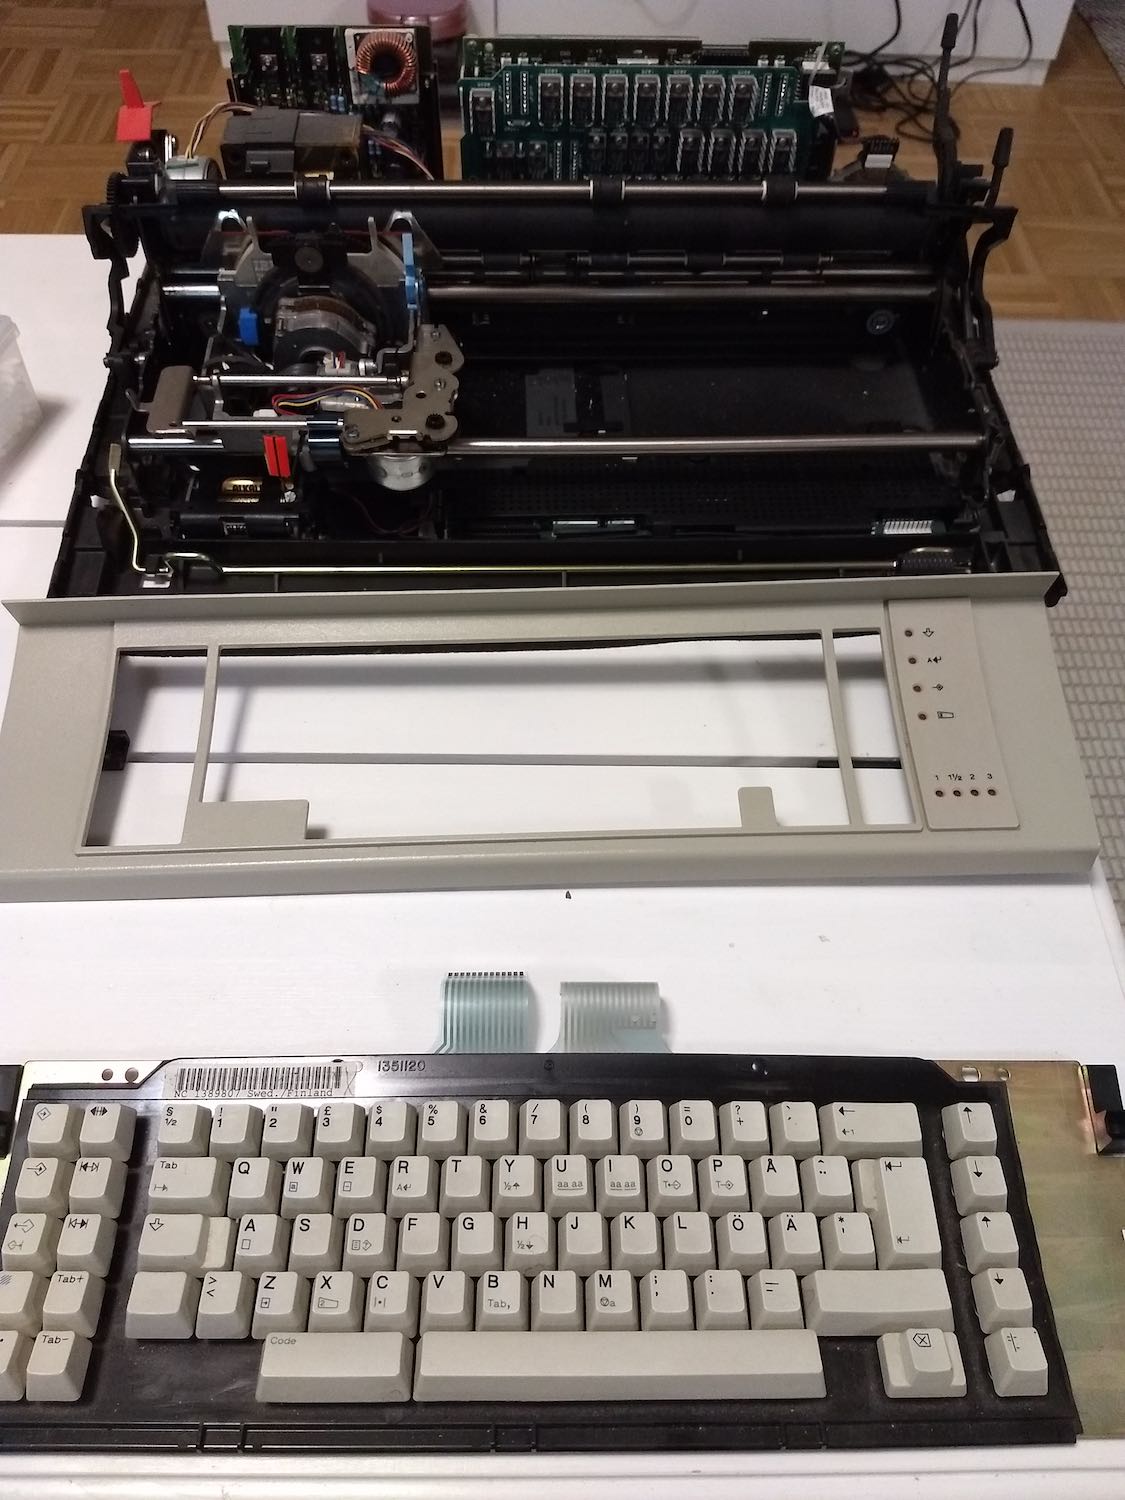
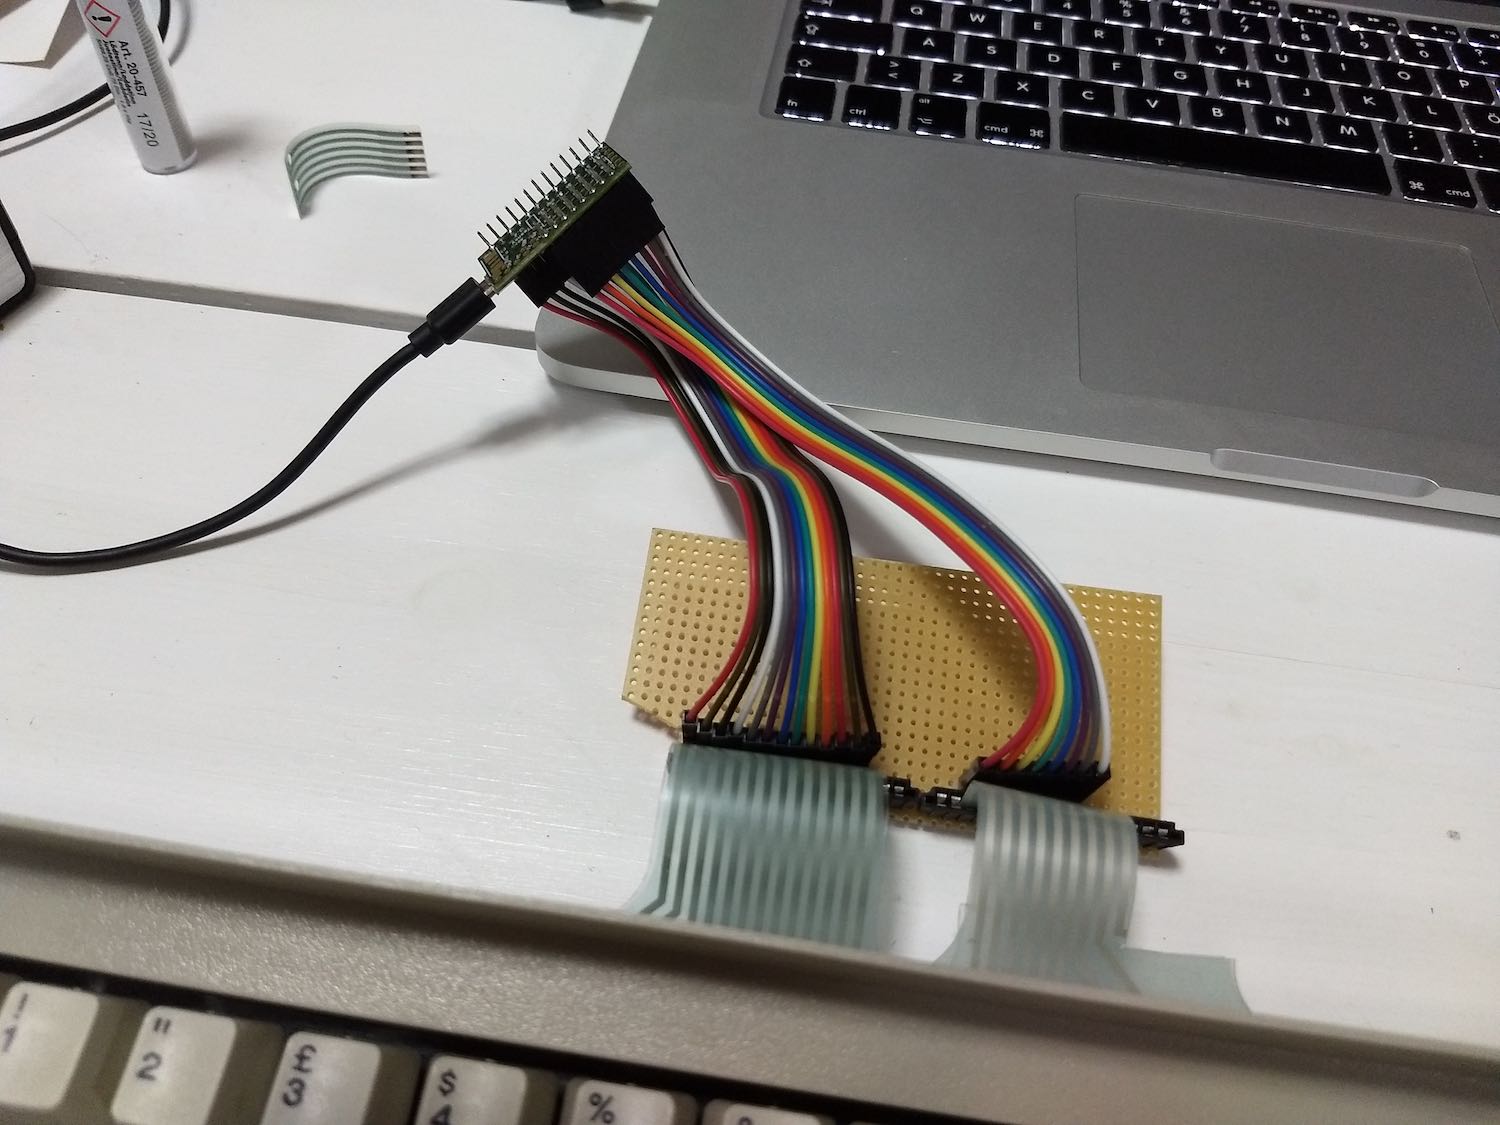
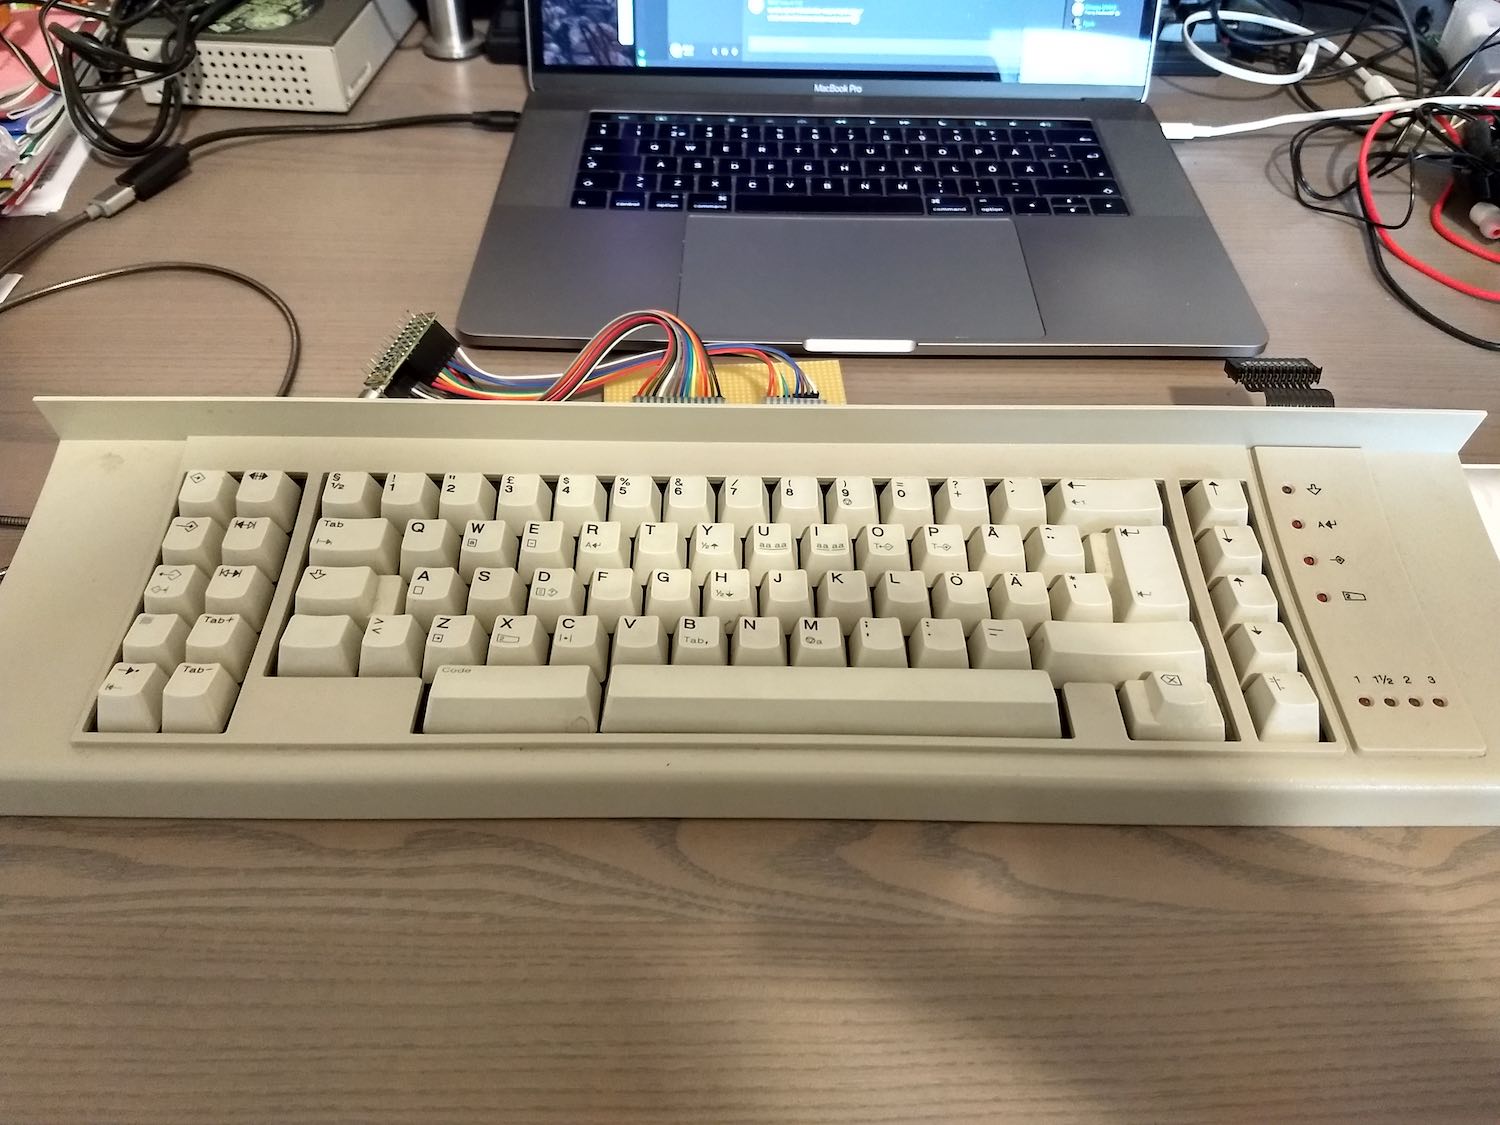
The first part was to remove the keyboard from the typewriter and see how it could be connected. Fortunately I only had to remove a few screws and disconnect three cables that come from the keyboard. The keyboard has two flat cables coming out of it, and a separate flat cable with a plug at the end for the LEDs. The flat cables can be connected to Triomate connectors, so I ordered a couple of 6-520415-6 from Mouser. In addition, I ordered some breadboard, cables, and a Teensy 3.2 for the firmware I would need to write (more in the next section). Take note of the version number, it will be important in the next section. 😅
Unfortunately the Triomate connectors I bought had short pins that would not stick to the breadboard properly, so I had to use some stripboard instead. The stripboard didn't cut cleanly into pieces either, but chipped into irregular parts, so I had to keep it whole. This made the design worse than it could have been, so don't make the same mistakes I did.
The flat cables also had a different issue, the bigger one (with 13 pins) did not stick in the Triomate connector well. I padded it with a piece of cardboard and that holds it snugly in place.
I soldered cables from the connectors to the Teensy, and I was good to go! The pin orders will be listed in the instructions section.
Plan A: Soarer's Converter
The Wheelwriter keyboard has no controller inside it, like a regular keyboard such as the IBM Model M would have. With the latter, it would most likely work if I had just bought an active PS/2–USB adapter and wired it up properly. But as the Wheelwriter is just a collection of pins that connect to the key matrix (the individual key switches), a regular adapter would not work. I had to get a microcontroller (the Teensy in this case), and a firmware for it that would interpret the signals from the pins and send them as USB scancodes to the computer.
My initial plan was to use these instructions as they were for a similar Wheelwriter keyboard. They use a firmware called Soarer's converter, which is not available in source form, but can be downloaded in binary form. Following the instructions here should have been straightforward.
But maybe you remember the Teensy version I mentioned in the last section, 3.2. What I did not know when I ordered it, is that the Teensy 2.0 (as required by Soarer's converter) uses an ATmega32U4 AVR chip, while the 3.2 uses an ARM Cortex-M4. These have different CPU architectures, and as there is no source of Soarer's converter, I could not compile it for ARM.
In my enthusiasm to always get the latest and the best (3.2 is obviously better than 2.0), I had made my work a lot more complicated. Back to the drawing board…
Plan B: Custom Firmware
At this point I was pretty annoyed. I could not find any firmware for the Wheelwriter that would run on the Teensy 3.2. I realised I had to write one myself, starting with pretty much no knowledge of how they worked.
At first, I found a firmware framework called QMK and wrote a few lines but could not make heads or tails of it and searched for other solutions. Next up was Kiibohd, with which I made some progress, but ultimately I was not able to get it working properly. I don't know what was wrong, but I gave up when I could not finish it. For a month or so, the keyboard was just gathering dust, as I was too bummed out to start working on it.
Then one day I decided to give QMK another try. I deleted the old bits of code I had written and started over. I read tutorials, the code of other keyboard firmwares, and asked a lot of questions on their Discord server. I adapted the code from another keyboard's template on their suggestion, but had to write custom matrix handling code. After some work, a small victory! I was able to get pin readings from the keyboard. Some of the keys were not connecting any pins, but that turned out just to be a loose connection with the flat cables. With that fixed, I could start mapping the keyboard's matrix.
Very tiny primer for those who are unaware of keyboard internals: A keyboard consists of rows and
columns of pins that are connected together when a key is pressed down. This is called a matrix. The
firmware will detect which row and column are connected together by detecting in which pins current
flows. It will then convert this to a format the computer understands, but it must know which rows
and columns correspond to which keys. This is done by mapping the matrix. Basically I had a debug mode
in the firmware that would print a table of the rows and columns with 0 if there was no connection in
that spot and 1 if there was a connection. I would then press each key and write down which pins were
connected in the format (col,row). This resulted in the
following matrix:
/*
  WHEELWRITER KEYMAP
  This keymap maps the matrix and its key positions in IBM Wheelwriter series 6 keyboard.

  Format is (col,row)

  ----------------------------------------------------------------------------
  |1,2|2,2|-|4,2|4,3|5,3|6,3|7,3|7,2|8,2|8,3|9,3|A,3|B,3|B,2|9,2|   C,2|-|C,3|
  ----------------------------------------------------------------------------
  |1,3|1,4|-|2,4 |4,4|5,4|6,4|7,4|7,5|8,5|8,4|9,4|A,4|B,4|B,5|9,5|  C,6|-|C,4|
  -----------------------------------------------------------------    -------
  |1,5|2,5|-|2,6  |4,1|5,1|6,1|7,1|7,0|8,0|8,1|9,1|A,1|B,1|B,0|B,6|    |-|C,1|
  ----------------------------------------------------------------------------
  |1,1|2,1|-|3,7|4,7|4,6|5,6|6,6|7,6|7,7|8,7|8,6|9,6|A,6|B,7|       3,7|-|1,6|
  ----------------------------------------------------------------------------
  |2,0|1,0|----------|   0,7    |            1,7            |-----| 2,7|-|C,7|
  ----------------------------------------------------------------------------
*/
With the matrix done, I wrote the first layout, or keymap in QMK terms. This instructs the firmware which USB scancodes correspond to which key. Additionally, I had to write custom matrix scanning code, as the code I took from the template I used did not work with the Wheelwriter's matrix. In a loop, the code sets the pin for a row up, reads the value of the columns, and then sets the pin down. This is repeated for each row, going through the entire matrix.
After creating the keymap and the matrix scanning code, I was done! The keyboard was alive!
Conversion Instructions
NOTE! These instructions are somewhat approximate, as I may not remember each part involved. They require that you are familiar with electronics work and know how to deploy code to a Teensy. I don't offer any support for this. Different Wheelwriter models may have different key matrices or different hardware entirely, so these instructions may not work for you. Continue at your own peril.
What you will need:
- A Wheelwriter 6747-2 or similar.
- Triomate connectors or similar for the flat cables.
- Teensy 3.x (only tested with 3.2).
- Breadboard, cables, solder, etc. standard prototyping stuff.
Begin by removing the keyboard from the typewriter. It was not difficult to remove for me, at most a few screws and a couple of cables to disconnect.
The flat cables should have 13 and 8 pins (left and right respectively when looking from the top). The right cable will also have some pins that are looped back and don't go into the keyboard, you can cut them out if you want to (I did).
Connect the cables to the Triomate connectors and connect them to the Teensy using prototyping cables or something. The pins should be connected as follows:
- The leftmost pin of the left cable is connected to pin labeled 0 on the Teensy (labels are on the bottom of the board). The pins are then connected in order until the rightmost is on pin 12 of the Teensy.
- The leftmost pin of the right cable is connected to pin 21 on the Teensy. The pins are then connected in order until the rightmost is on pin 14 of the Teensy. So these pins go in reverse numerical order on the Teensy.
Clone the
GitLab repo
containing the firware. Read the
QMK instructions
about the dependencies you need to install (in fact go ahead and read all the docs). When you feel
you are set, run the command make nicd_wheelwriter:default. This will build the Wheelwriter
firmware with the default keymap.
If all went well, you can deploy the resulting file .build/nicd_wheelwriter_default.hex to the
Teensy (I used Teensyduino for this) and try it out!
If all did not go well, try asking the QMK Discord for help with your issues, they are usually very helpful. Remember to include any error output in a gist.
Godspeed!
Conclusion
Converting the Wheelwriter was a fun project. I learned a lot about how keyboards work, how to deploy code for a Teensy, and how keyboard firmwares are made. The keyboard is a nice curiosity piece, but did not end up being my main keyboard, because… unfortunately it just isn't really that good.
The Good
- Model M goodness, very sturdy and loud
- Able to customise with own firmware
The Bad
- Strange layout forces odd key selections (no Ctrl, no Super, no Alt, arrow keys only go up and down)
- The matrix is cheap and only has support for 2 or 3 keys pressed at the same time (well it's for a typewriter)
- The keys are too stiff for my liking (if you like to use force when typing, this keyboard is for you)
- No hints on F and J keys for fingers
The Ugly
- Caps lock cannot be pressed with any other key, so it cannot be used as a modifier
- Both left and right shift are mapped to the same pins so you cannot differentiate between them
Thanks
I'd like to thank the people at the QMK Discord who really helped me understand how keyboards work and how I should proceed with writing the firmware. I could not have done it without your help. Thanks also to all those who have shared online their material on the Wheelwriter. With this post I am attempting to follow your example for the good of others in the future.
PS
So what happened to the rest of the typewriter? Unfortunately this is a sad ending. I was planning to use it as a printer like this madman had done, but as it was waiting in our shed, mice invaded the place and made a mess of everything. At this point I'm not that enthused to go and check the damage. If the mice have gone inside the typewriter, it is going straight to the landfill. Sorry about that. 😕
Additional Resources
In no particular order.
- QMK Discord
- Teensy pinout graphs
- Instructions for Teensy 2.0
- My Mouser bill of materials
- Building a USB controller for an IBM Model M
- Someone else's Wheelwriter conversion
- Mapping from pin numbers to pin names on the Teensy 3.x
- IBM Wheelwriter printer hack
- QMK keycodes
This post was written entirely on a Wheelwriter keyboard.