Restoring a Cherry G80-1000 Keyboard
Posted on .
I've always loved retro keyboards. Back at my previous job I used to use a Keytronic keyboard that I salvaged from the university's trash room. I liked the 80's/90's beige aesthetic, the huge keys, and the sound of typing on it. But it wasn't a mechanical keyboard, just rubber dome. Once I got to type on a mechanical keyboard, I knew I wanted one, but that meant I had to put my trusty Keytronic to the side.
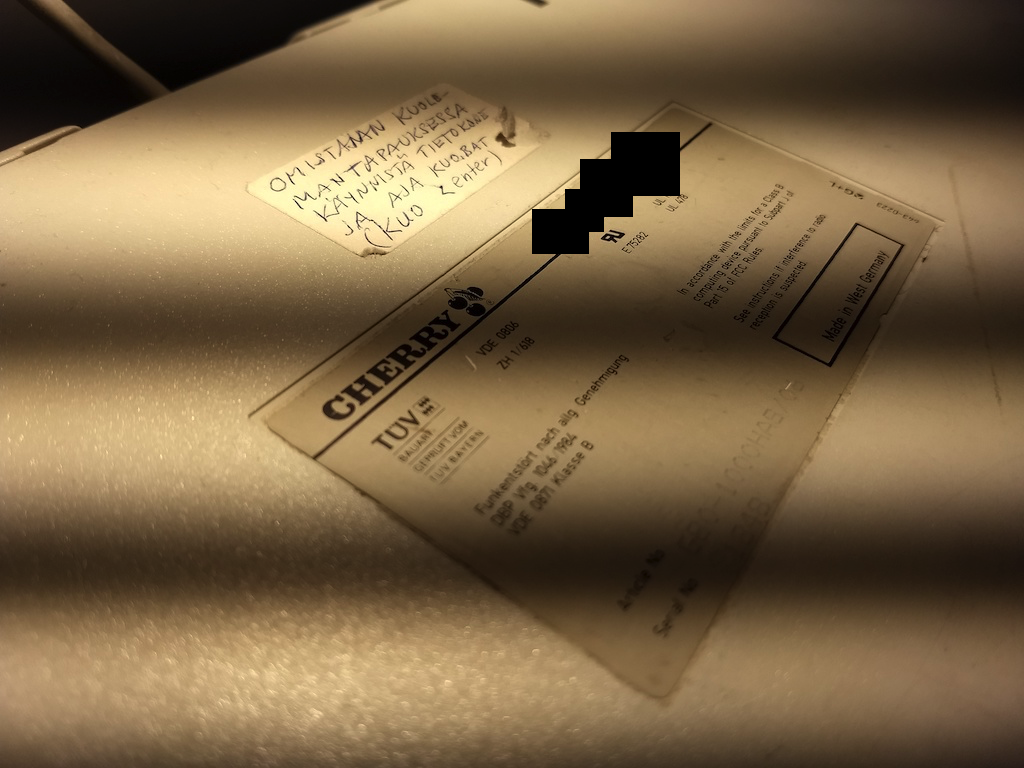
So about a month ago, I was very surprised and excited when I found an old looking keyboard in the trash bin at my current employer. It was meant to be used in a display with other retro stuff, but they did not get it working properly, and it was discarded. I looked at the back of the keyboard, which said "Cherry" and "Made in West Germany". I knew I had just made a great find.
It turned out the keyboard is a Cherry G80-1000HAS/06. The G80-1000 is a keyboard introduced by Cherry in 1987 and was their first full size keyboard. Since it said it was made in West Germany, it had to have been made between 1987 and 1990. I took it to my desk and tested it… Lo and behold, it worked! This nearly 30 year old keyboard, still going strong. A couple of keys were iffy, but nothing major. There was a problem though, the keyboard had original Cherry MX Black switches, which have no tactile feedback. I was used to typing with tactile switches and had a lot of mistyping with linears, because I could not feel the actuation point. After a moment of thinking I decided I could not let this piece of history go to the landfill, instead I would replace the switches and restore it to its former glory!
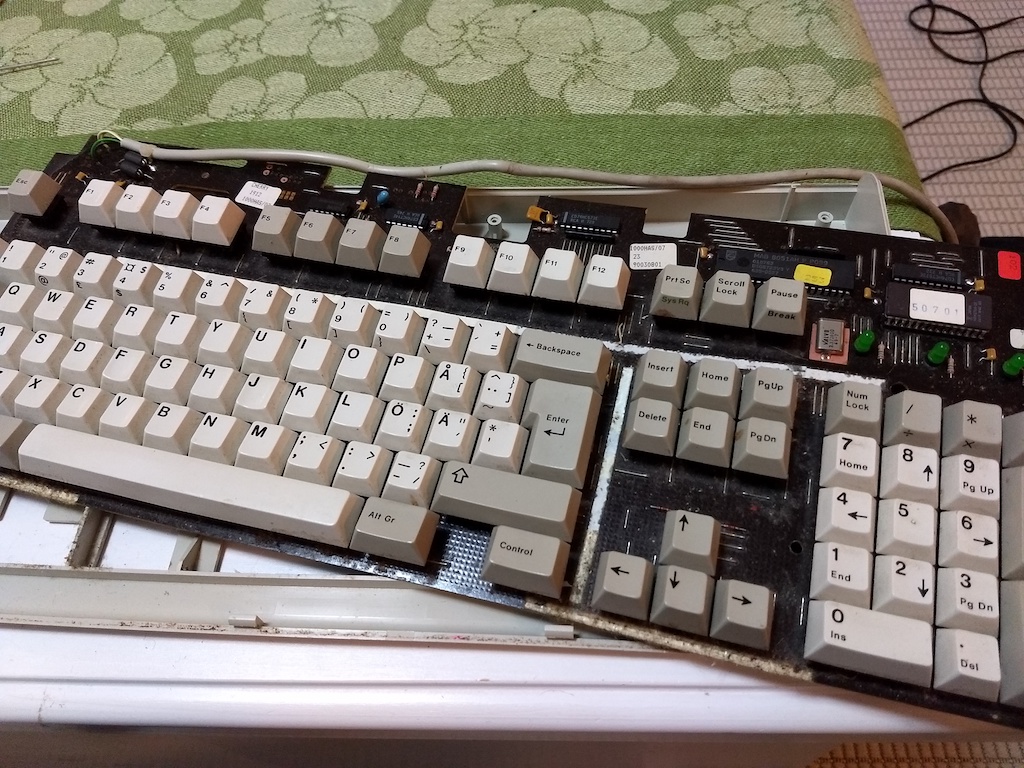
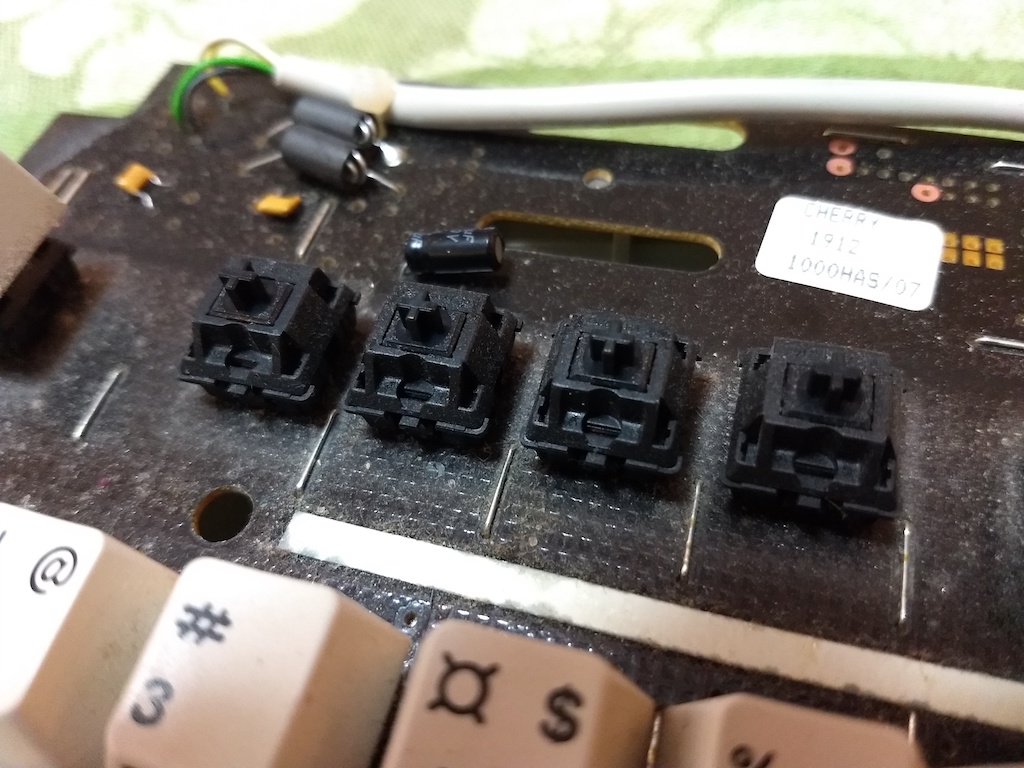
The plan was to clean the keyboard and change the switches to something more to my preference. I wanted tactile switches and I've always liked the clicky sound of some keyboards, so I went with Cherry MX Blues. There are cheaper switches available that are compatible with Cherry MX, but I wanted to stay authentic to keep the character of the keyboard. As a first step I bought a couple of test switches from a local geek and desoldered one of the keyboard's switches to test if I could solder on a new one and still have the keyboard work. I didn't want to order all new switches and then find out it didn't work at all!
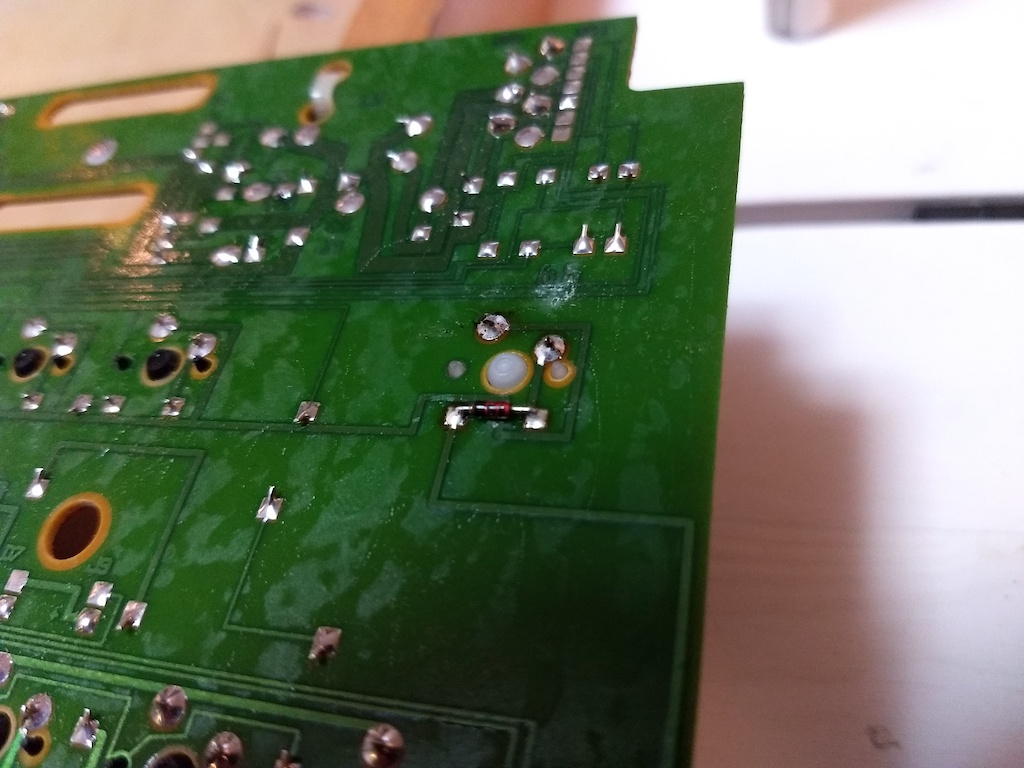
When soldering the test switch in place of Esc on the keyboard, I noticed the new switch only had two pins but the old switches had 4. Turned out the two additional pins were for a diode that is next to every switch. In the old switches, the diode was included inside the switch's case. This was a setback, because now 1) I would have to get diodes, either by ripping open the old switches or buying new diodes, and 2) add the diodes into the cases of the new switches.
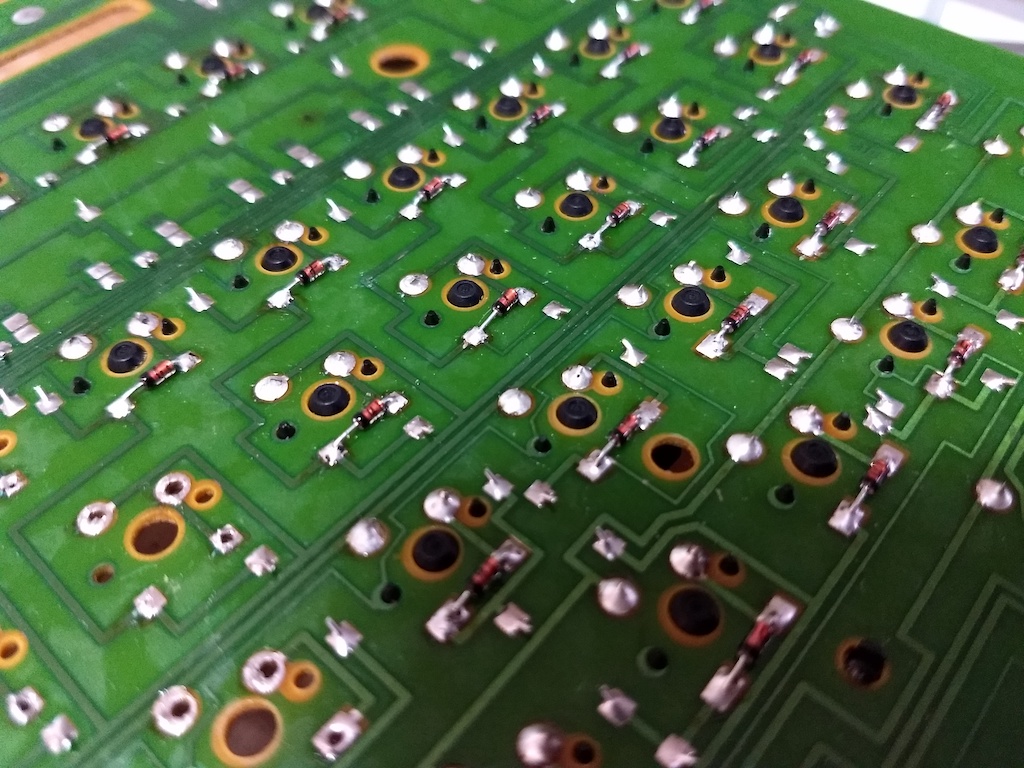
After a moment of thinking, I came up with a solution presented in the picture above. Firstly I would buy new diodes, since it turned out 120 diodes cost about 2 € to order. Secondly, I would not open all the new switches to place the diodes inside, because that would take ages. Instead I would solder the diodes on the backside of the board, with the legs going through the board and into the switch through its diode holes. This way I can easily solder them and not have to worry about diode legs sticking out from the other side. Since the PCB is so simple and one-sided, there were no complications due to putting the diodes on the other side than was intended.
So with this solved, I set out to desolder all the old switches and diodes. Boy, was that some work.
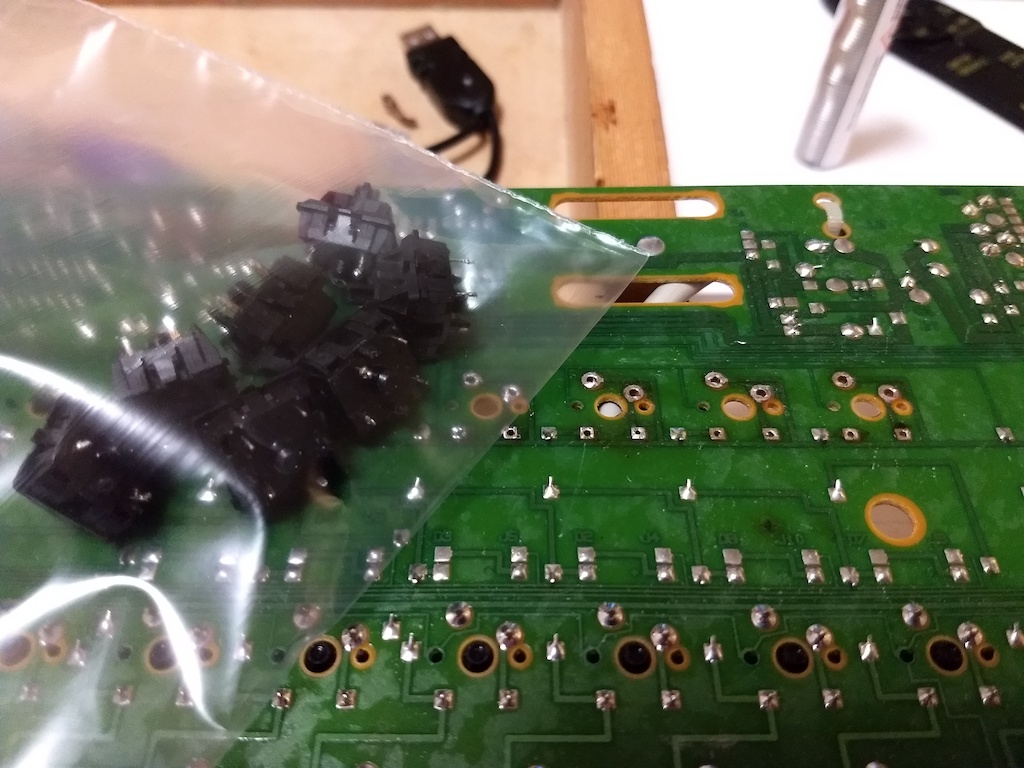
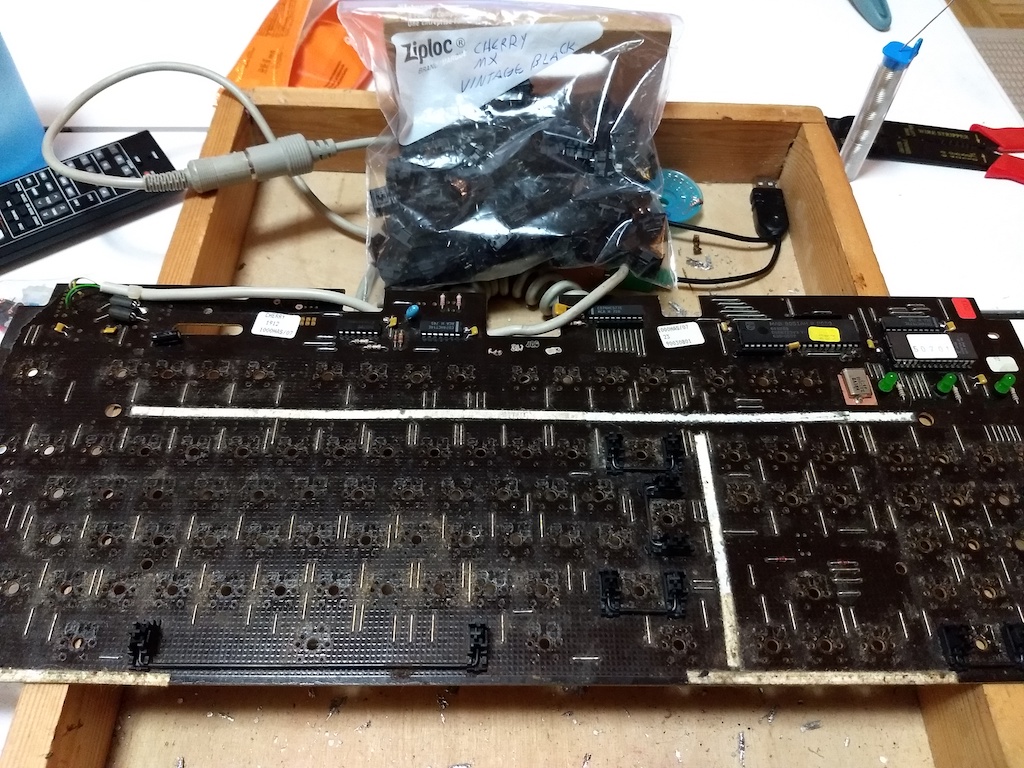
Things I learned while desoldering the old switches:
- It takes ages. This is work that needs patience. It took me three evenings and one day to remove all the switches.
- Solder wick is totally useless. I bought two rolls of solder wick to start with, but couldn't for the life of me get them working properly. I got a solder pump after a while and with that I made much faster progress. Invest in your tools or you will lose your sanity.
When the desoldering was finally done, it was time to clean up the PCB a bit. I bought some isopropyl alcohol (branded as "electronics cleaner") and sprayed little amounts while brushing with cotton swabs. The keyboard was full of dirt, dust, insect shells, and old two sided tapes that had collected hair and other crap. I got it relatively clean with the alcohol and it didn't leave big stains behind so I consider that a success. Having a big PCB with few components helped here too.
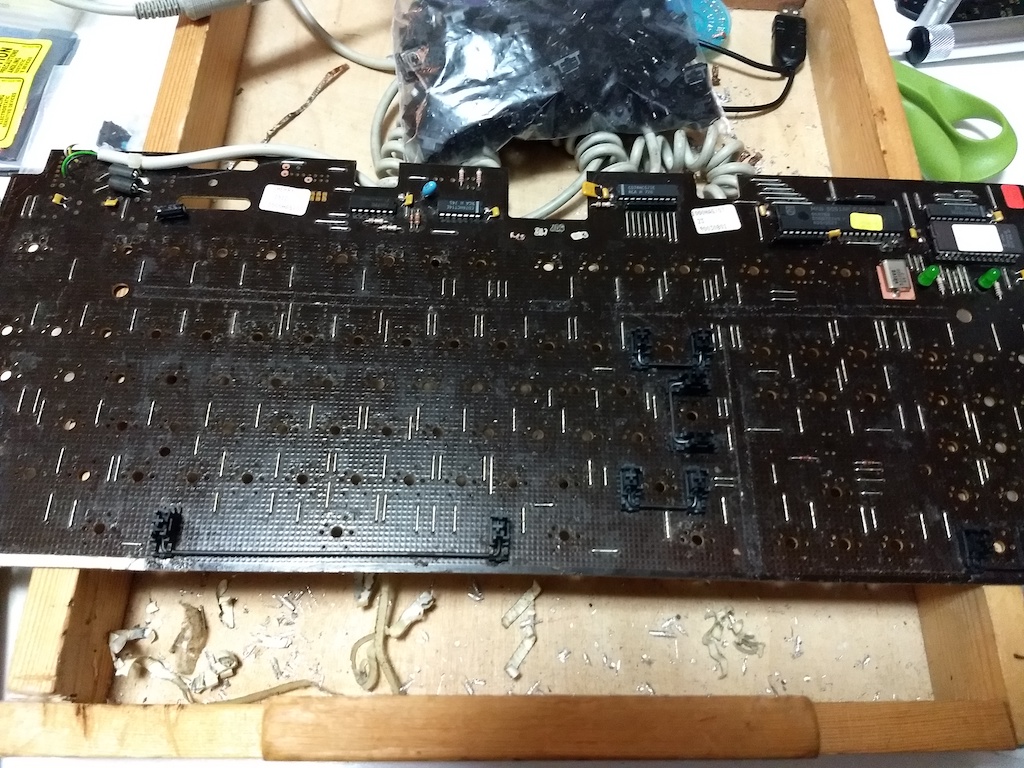
Then it was just a matter of soldering on the new switches and diodes, that had arrived from Mouser. I ordered 110 pieces of 540-MX1A-E1NW (switches) and 120 pieces of 512-1N4148 (1N4148 diodes from Fairchild). It's good to order a few extra, because you will probably mess something up accidentally, like bend the legs too far. You don't want to end up with a keyboard with one missing switch or diode.
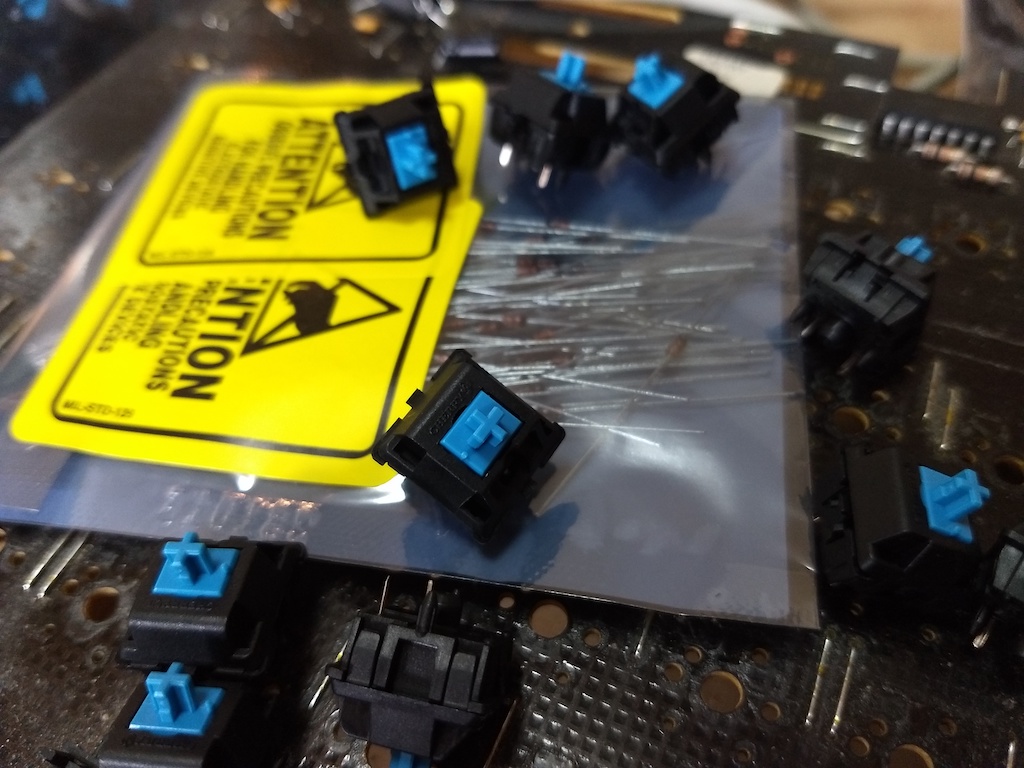
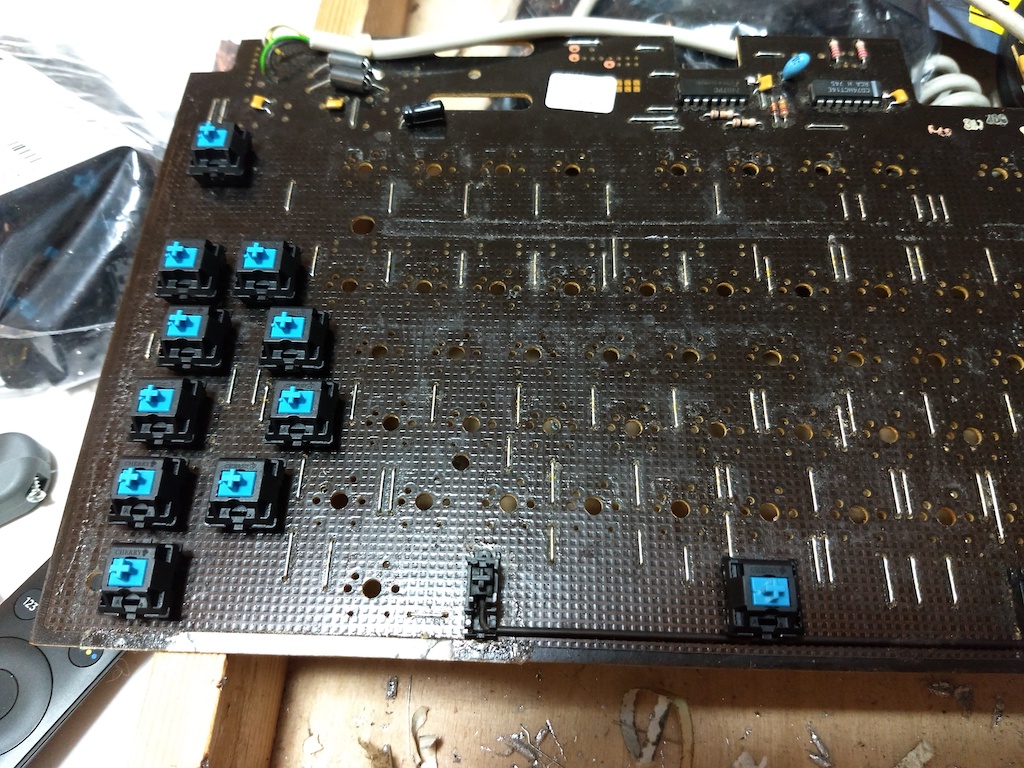
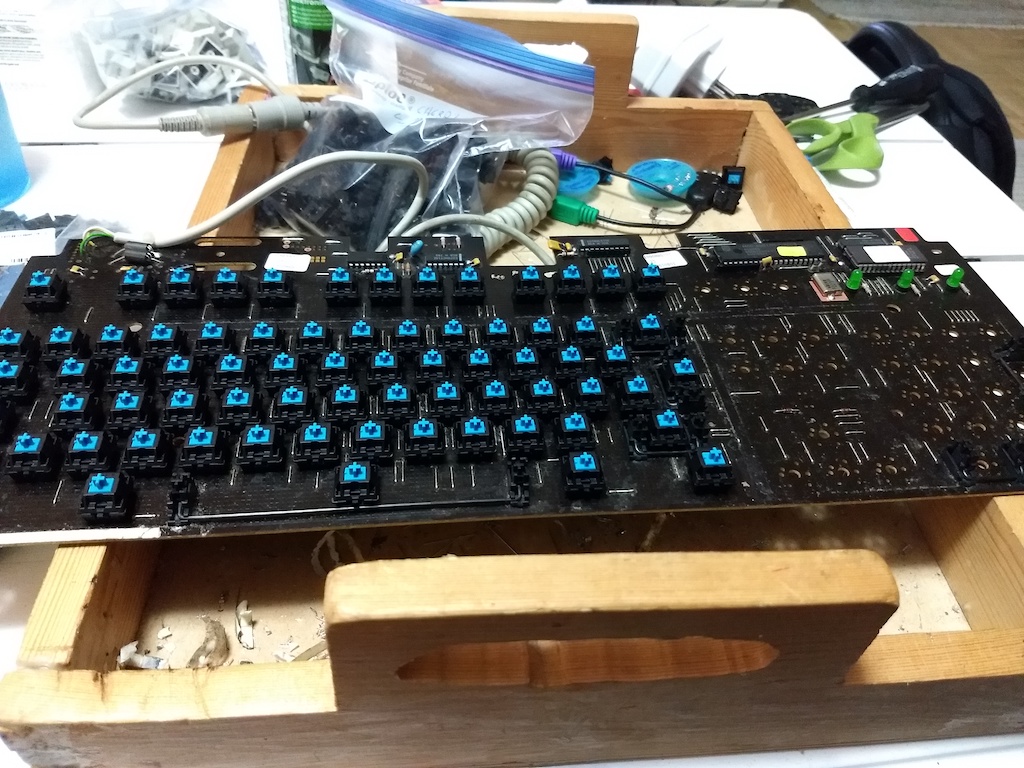
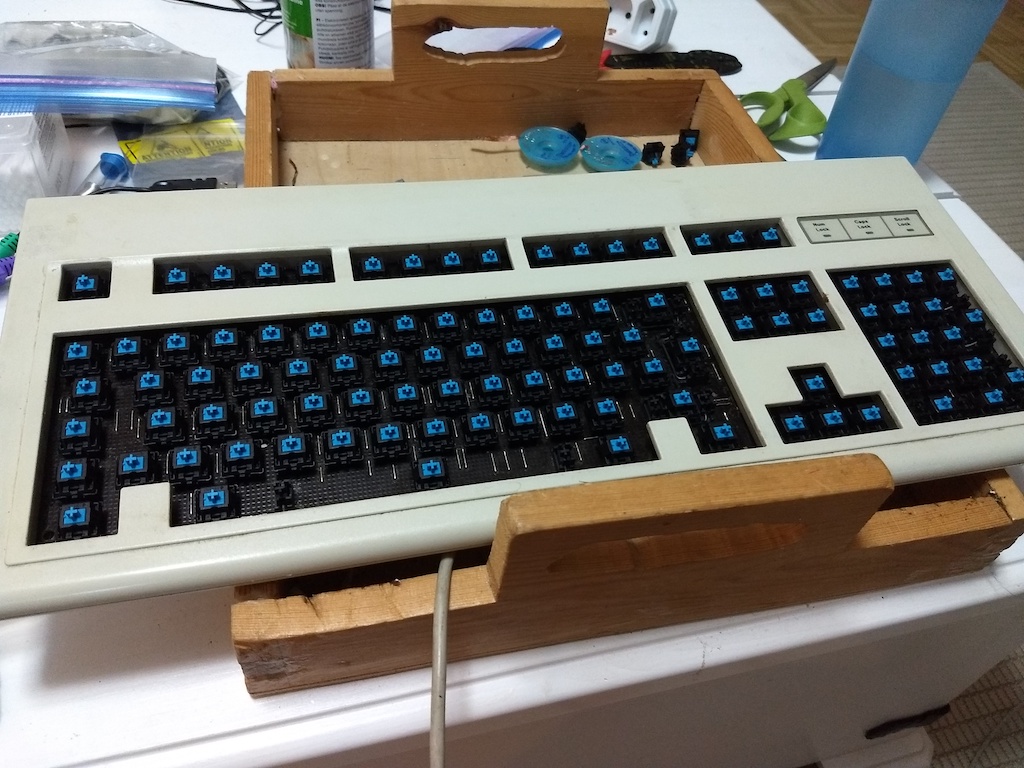
When the soldering was done, it was time for testing (actually I soldered all the diodes on the numpad before the switches just so I could test the rest)… aaand it didn't work. I was prepared for a soul crushing verdict, that I had broken the PCB or some part during the process, but I was relieved to find out I had just missed some solders on a couple of diodes and they weren't getting proper contact. Phew! 😓
Additionally, the cheap active PS/2–USB adapter that I bought from DealExtreme ages ago for my Keytronic has problems connecting sometimes. There's a mode selector on the bottom of the keyboard that helps when the correct mode is selected, but the adapter sometimes seems to be a bit nitpicky. Usually a couple of reconnects fixes the issue. I didn't take an image of it, but you can select between MF (works), XT (mostly works), and AT (types garbage).
I'm unsure if it's due to the keyboard or the adapter, but the input is limited to 5-key rollover. As I'm not gaming with multiple people on this keyboard, it's not an issue for me.
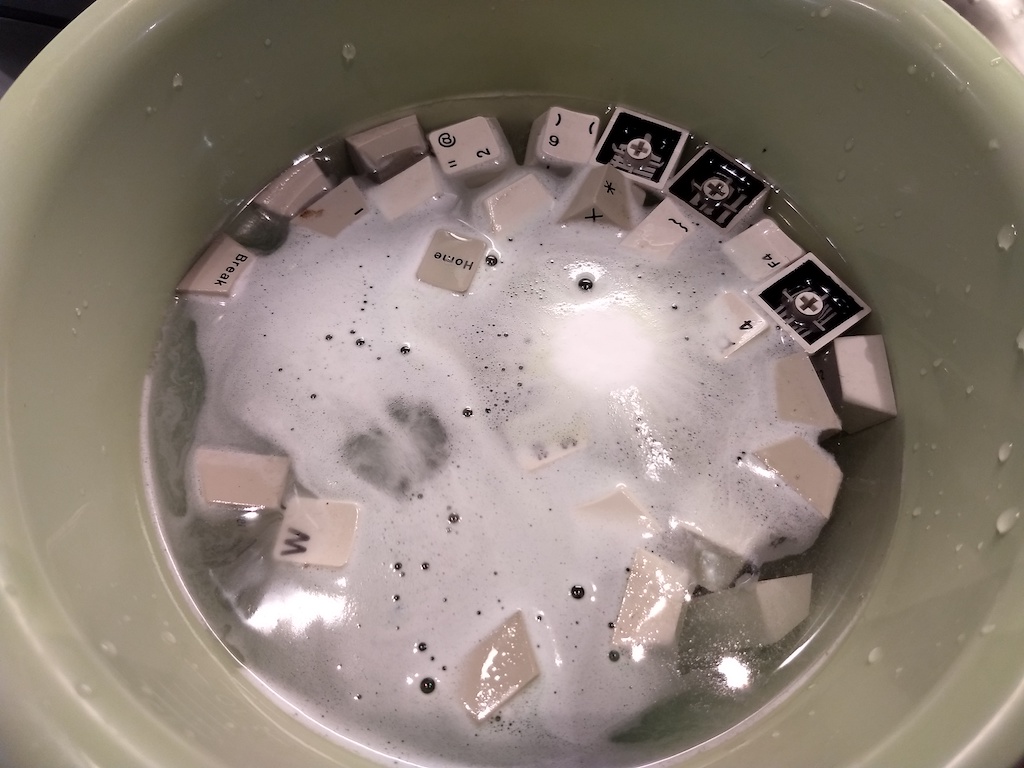
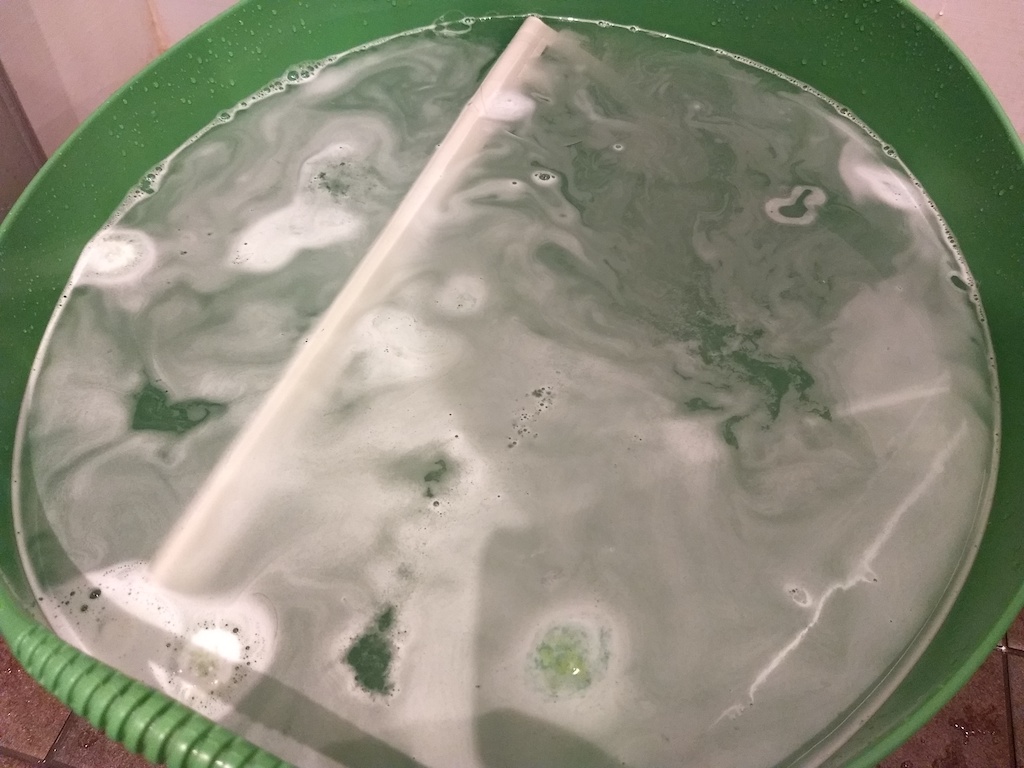
The last part was cleaning the keycaps on the case so the Cherry is in presentable shape. I asked around for the best way to clean those parts and was suggested dental tabs, you know, those tablets that people put in water to clean their teeth prostheses. I was pretty sure these people were pulling my leg so I googled and yes, it is true! Turns out they are great cleaners that don't harm the plastic (just test on a small batch first).
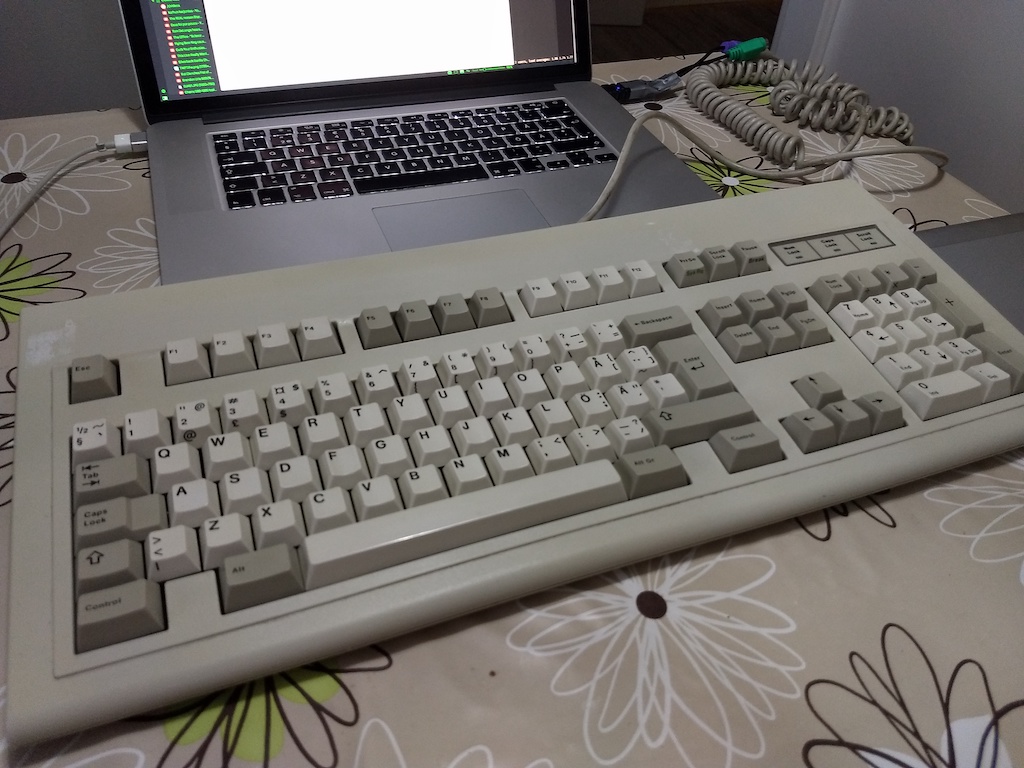
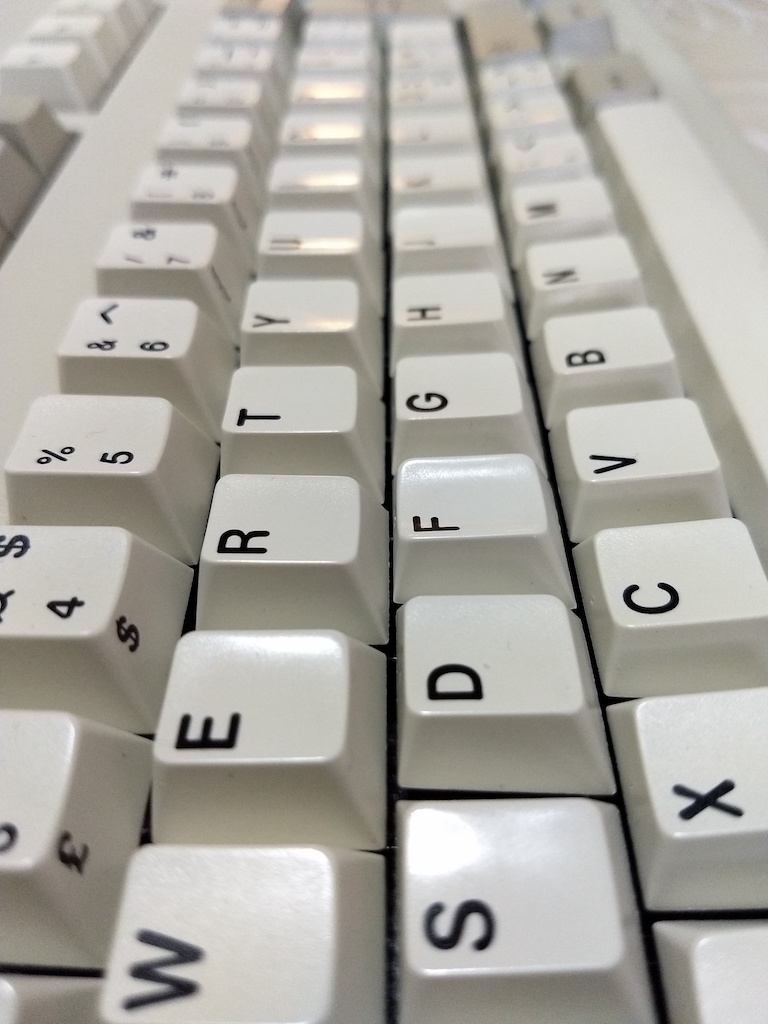
So now I have a lovely old keyboard, a piece of history in my eyes, that's fully working again, clicking and clacking. Here's to 30 more years of typing. I am going to keep it at home as my programming/gaming keyboard (because it is way too loud for the office). It was nice to get to tinker with hardware and soldering after a long while of just writing software. Can highly suggest such small projects to everyone, getting the finished product comes with a great feeling of satisfaction.
Lastly I would like to thank the good people at #Mechboards on Freenode for answering all of my questions. You really helped me in my project and taught me new things about how keyboards work. People were very responsive and friendly there, can recommend.
Additionally, a shout out to /r/MechanicalKeyboards for their wiki that has a lot of useful info for everything related to mechanical keyboards.
Finally, here's a typing demo where I show how bad I am at typing, but at least you can hear the sounds of the finished product!
This blog post was entirely typed on a Cherry G80-1000.